Hyderabadi Biryani: The Crown Jewel of Indian Cuisine
Table of Contents

Introduction
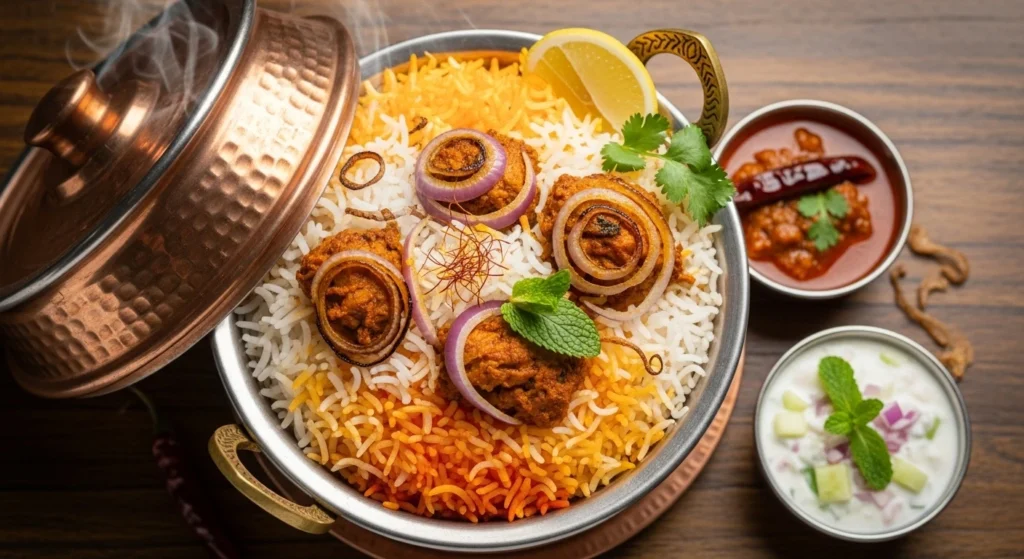
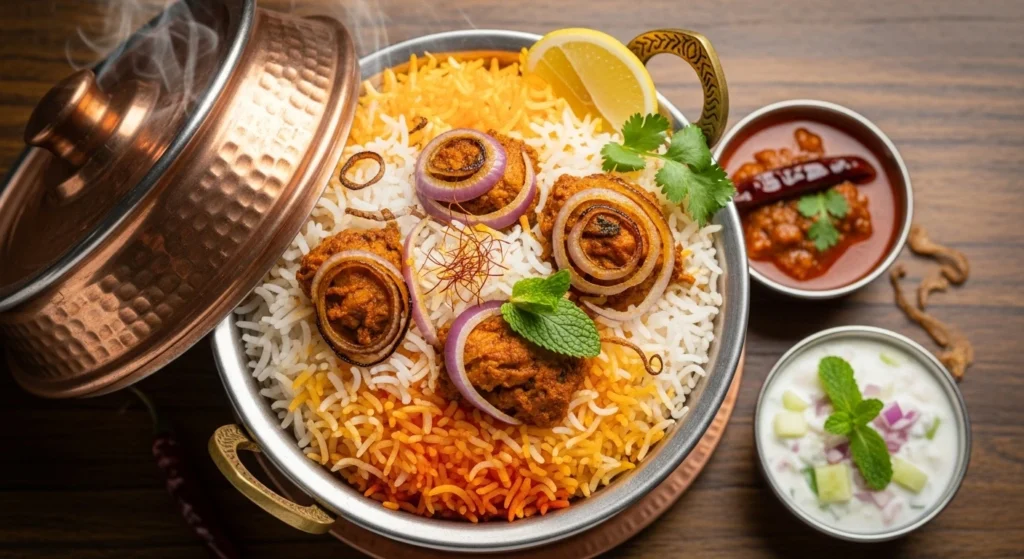
When it comes to iconic Indian dishes, few names shine as brightly as Hyderabadi Biryani. Known for its bold flavors, aromatic spices, and irresistible layers of fragrant rice and tender meat, this dish is more than just food—it’s a celebration.
Unlike many regional variations, Hyderabadi Biryani is famous for its balance of spiciness and fragrance. The meticulous layering of rice, marinated meat, and slow cooking under Dum (steam) creates a depth of flavor that is both rich and unforgettable.
In this article, we’ll explore the history, ingredients, step-by-step preparation, and health benefits of Hyderabadi Biryani. Whether you’re a curious food lover or a beginner home cook, you’ll find this guide both approachable and inspiring.
History of Hyderabadi Biryani
The story of Hyderabadi Biryani is as flavorful as the dish itself.
Biryani, in general, is believed to have originated from Persia and traveled to India with the Mughals. However, Hyderabadi Biryani gained its unique identity in the kitchens of the Nizams of Hyderabad during the 18th century. The Nizams, known for their lavish lifestyles, turned biryani into a symbol of culinary refinement.
What makes Hyderabadi Biryani different from its Lucknowi (Awadhi) cousin is the use of strong spices, chili heat, and robust flavors. While Awadhi Biryani is subtle and delicate, Hyderabadi Biryani is bold and fiery—yet balanced.
There are two main types of Hyderabadi Biryani:
- Kacchi (Raw) Biryani – raw marinated meat is layered with partially cooked rice and slow-cooked together.
- Pakki (Cooked) Biryani – cooked meat is layered with rice before being sealed and cooked on dum.
Both styles are beloved, but the Kacchi Biryani is considered the true hallmark of Hyderabadi tradition.
Ingredients for Hyderabadi Biryani
The beauty of Hyderabadi Biryani lies in its carefully balanced spice blend and quality ingredients. Here’s a traditional ingredient list:
Main Ingredients
- Basmati rice – 500 g (aged long-grain rice for fragrance and fluffiness)
- Mutton or chicken – 700 g (mutton is most traditional)
- Onions – 3–4 large, thinly sliced (for frying into golden birista)
- Yogurt – 1 cup (for marination)
- Ghee (clarified butter) – 4–5 tbsp
- Lemon juice – 2 tbsp
- Milk – ½ cup (soaked with saffron strands)
Spices and Flavorings
- Whole spices: bay leaves, cloves, cardamom, cinnamon, star anise, and mace
- Ground spices: red chili powder, turmeric, garam masala, and coriander powder
- Ginger-garlic paste – 2 tbsp
- Green chilies – 2–3, slit
- Fresh coriander and mint leaves – a generous handful each
- Salt – to taste
Optional Enhancers
- Kewra water or rose water – a few drops for fragrance
- Fried cashews and raisins – for garnish

Step-by-Step Preparation of Hyderabadi Biryani
Step 1: Marinate the Meat
The soul of Hyderabadi Biryani lies in its marination.
- In a large bowl, combine yogurt, ginger-garlic paste, red chili powder, turmeric, garam masala, salt, and lemon juice.
- Add raw mutton or chicken pieces and coat well.
- Mix in half of the fried onions (birista), mint, and coriander.
- Marinate for at least 4–6 hours (overnight is ideal for depth of flavor).
Step 2: Prepare the Rice
- Wash and soak the basmati rice for 30 minutes.
- In a large pot, boil water with bay leaf, cardamom, cloves, and salt.
- Add soaked rice and cook until 70% done (grains should still be firm).
- Drain and set aside.
Step 3: Fry the Onions (Birista)
- Heat ghee or oil in a pan.
- Fry sliced onions until golden brown and crisp.
- Drain excess oil and keep aside. These onions add sweetness and texture.
Step 4: Layering the Biryani (Kacchi Style)
- In a heavy-bottomed handi (pot), spread the marinated raw meat at the bottom.
- Add a layer of half-cooked rice on top.
- Sprinkle saffron milk, fried onions, mint, and coriander leaves.
- Repeat the layering until all rice is used, finishing with rice on top.
- Add a drizzle of ghee and kewra water for aroma.
Step 5: Dum Cooking
- Seal the pot with a tight lid (or dough to trap steam).
- Place the handi on very low heat for 45–60 minutes. A heavy pan or griddle (tawa) can be placed under the pot to prevent direct burning.
- Alternatively, bake in an oven at 180°C for 25–30 minutes.
Step 6: Serve with Love
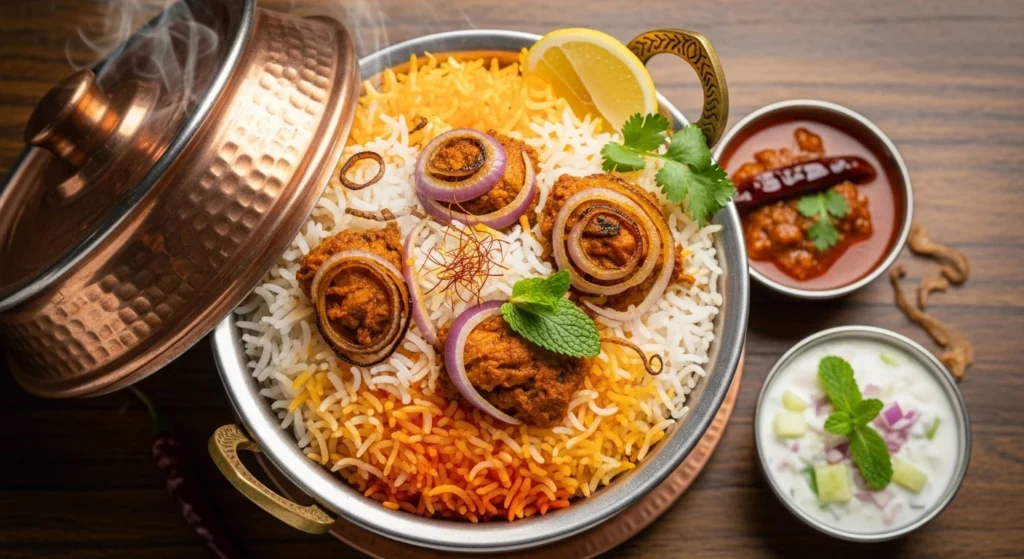
Once opened, the biryani should reveal fluffy rice grains, juicy meat, and a tantalizing aroma. Serve with mirchi ka salan (spicy chili curry) and cooling raita.
Health Benefits of Hyderabadi Biryani
While biryani is often associated with indulgence, it also carries nutritional benefits when prepared with balance:
1. High-Protein Meal
Mutton or chicken provides a rich source of protein, supporting muscle health and energy.
2. Balanced Macronutrients
With rice for carbohydrates, meat for protein, and ghee for healthy fats, biryani is a complete meal in itself.
3. Rich in Antioxidants
Spices like cloves, cinnamon, cardamom, and saffron are packed with antioxidants that help reduce inflammation.
4. Gut-Friendly Spices
Ingredients like ginger, garlic, and cardamom aid digestion and improve metabolism.
5. Satiety and Energy Boost
A serving of Hyderabadi Biryani is filling and provides sustained energy, making it perfect for festive feasts and special occasions.
That said, portion control is important—biryani is calorie-rich, and moderation ensures both enjoyment and balance.
Conclusion: Experience the Magic of Hyderabadi Biryani
Hyderabadi Biryani is more than just a dish—it’s a piece of history, culture, and passion served on a plate. From the royal kitchens of the Nizams to the bustling streets of Hyderabad, it continues to win hearts across the globe.
Yes, it takes time and effort to master, but the process itself is rewarding. Each step—from marination to dum cooking—carries centuries of tradition.
So why not bring a little piece of Hyderabad into your kitchen? Try making this aromatic biryani, share it with loved ones, and let the flavors transport you to the royal city itself.